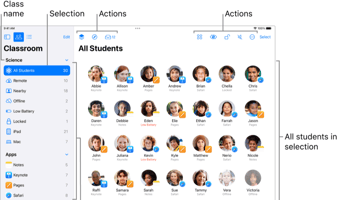
Interchange-X simplifies the process of updating your mobile device fleet, which is managed via...
Interchange-X simplifies the process of provisioning new applications every school term/year. All you have to do is configure your Interchange-X mapping with the format of the required CSV files, and you can use a single upload of your Compass SDS v2 data to generate all of them, even the passwords!
Step 1: Export Data from Compass
-
Log in to your Compass account.
-
Navigate to "Subjects and Classes".

-
Select the "Microsoft SDS V2 Export" (not the v1/unversioned export ).

-
A ZIP file will download. Save it locally on your computer.
Step 2: Adjust Interchange-X Settings and Upload Data
-
Open Interchange-X and log in.
-
Navigate to the settings panel and configure your Compass-CSV mapping according to your campus-specific needs. Take note that primary values are associated with students and secondary values are associated with teachers/staff.

-
After saving your settings, select: Tasks > Run (choose the mapping you want to run).
-
Browse and select the Compass ZIP file you previously exported.
-
Click "I Confirm" to upload the file and initiate processing.
Step 3: Download Results and Upload to JAMF School
-
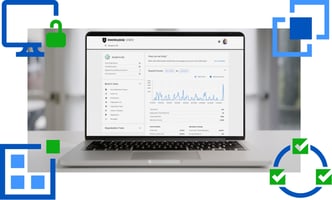
Once processing completes, Interchange-X will generate downloadable configuration files ("View").
-
Download these files. You may edit the files or inspect them for accuracy/intent.
And that's all there is to it! You can now upload the generated CSV files into downstream systems as needed to initialise the starting batch of users in just a few minutes. You can even diff the files going forward to manage subsequent changes.